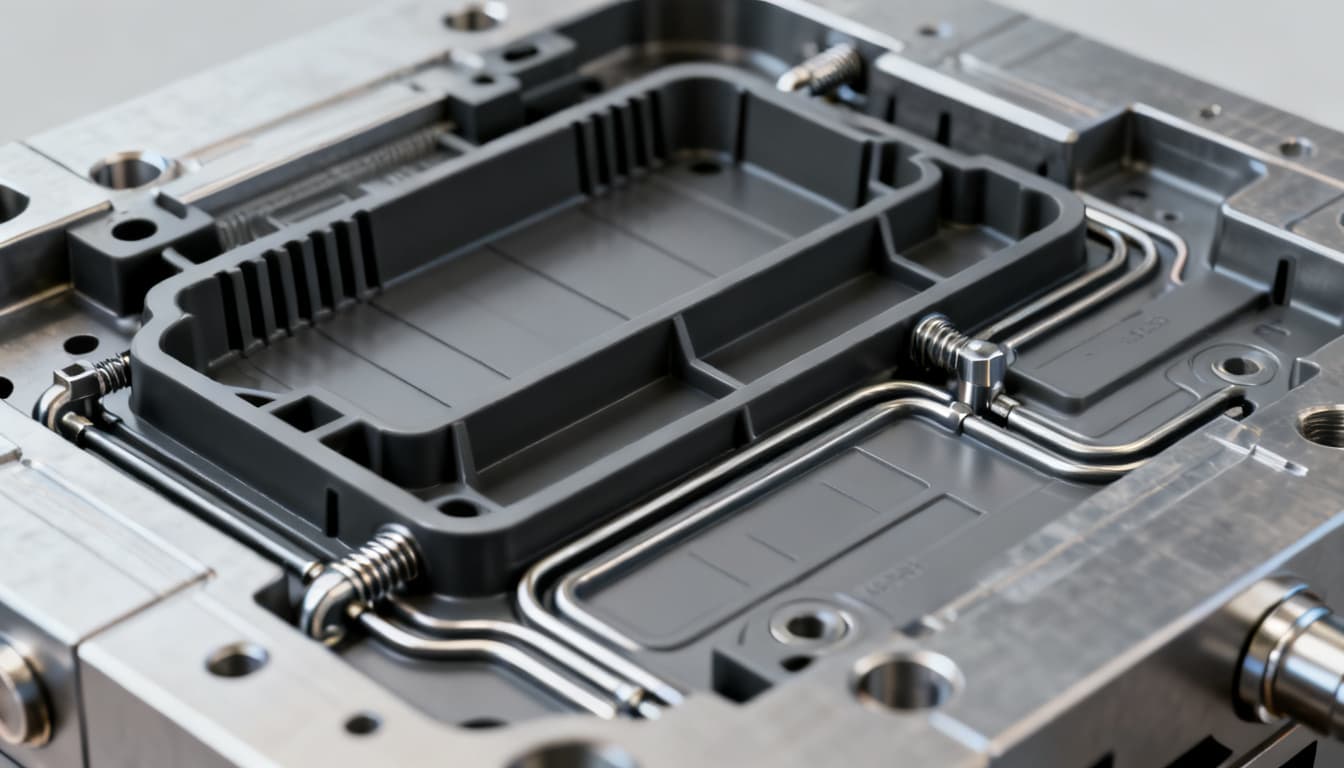
Avoiding Sink Marks and Warpage in Precision Polymer Parts: 6 Design Rules for Thin-Wall and Micro-Feature Success
You’ve nailed the CAD geometry, held tolerances to ±0.05 mm, and selected a high-performance resin. Yet first-article samples come back with subtle surface depressions or a twist that throws off assembly. Those defects—sink marks and warpage—are rarely dramatic, but they quietly destroy yields in pr
Avoiding Sink Marks and Warpage in Precision Polymer Parts: 6 Design Rules for Thin-Wall and Micro-Feature Success
Why Sink Marks and Warpage Are the Silent Yield Killers in Precision Molding
You’ve nailed the CAD geometry, held tolerances to ±0.05 mm, and selected a high-performance resin. Yet first-article samples come back with subtle surface depressions or a twist that throws off assembly. Those defects—sink marks and warpage—are rarely dramatic, but they quietly destroy yields in precision molding. In thin-wall connectors, microfluidic chips, or surgical device components, a sink depth of just 0.02 mm can mean a cosmetic reject or a leak path. Warpage of 0.2 mm across a 50 mm housing can prevent ultrasonic welding or snap-fit engagement.
Aprios notes that sink marks are not just aesthetic flaws; they signal areas of high residual stress that can compromise part performance. Rex Plastics emphasizes that abrupt changes in wall thickness create stress concentrations that lead directly to sink or warp. When you’re working with walls under 1.0 mm and micro-features below 0.5 mm, these defects become the dominant source of scrap—often misdiagnosed as tool wear or material lot variation. The real culprit is almost always a design that ignores the fundamental relationship between shrinkage, cooling, and geometry.
The Shrinkage-Stress Connection: How Wall Thickness Imbalances Distort Parts
All thermoplastics shrink as they transition from melt to solid. The trouble starts when different regions of the same part shrink at different rates. A thick rib root cools more slowly than the adjacent thin wall. As the interior material continues to contract, the already-solidified skin is pulled inward, creating a sink mark. On a larger scale, differential shrinkage across a part builds internal stresses that relieve themselves through warpage—bowing, twisting, or angular distortion.
This mechanism is magnified in semi-crystalline polymers like POM or PBT, which exhibit higher and more anisotropic shrinkage than amorphous resins. Even filled grades, while reducing overall shrinkage, can introduce orientation effects that warp parts if flow patterns aren’t uniform. The table below, drawn from the DuPont Engineering Polymers design guide, gives typical shrinkage ranges for common precision polymers.
| Polymer | Typical Shrinkage (unfilled, %) | Shrinkage with 30% Glass Fiber (%) | Notes |
|---|---|---|---|
| ABS | 0.4 – 0.7 | 0.2 – 0.4 | Amorphous; low warpage tendency |
| Polycarbonate (PC) | 0.5 – 0.7 | 0.2 – 0.4 | Excellent dimensional stability; sensitive to packing |
| POM (Acetal) | 1.8 – 2.5 | 0.5 – 1.0 | High shrinkage; requires uniform wall design |
| PBT | 1.5 – 2.0 | 0.3 – 0.8 | Semi-crystalline; anisotropic shrinkage common |
| PA66 (Nylon 66) | 1.0 – 2.0 | 0.3 – 0.7 | Moisture-conditioned dimensions shift |
| PEEK | 1.0 – 1.5 | 0.2 – 0.6 | High-temperature; low shrinkage with fillers |
| LCP | 0.1 – 0.6 | 0.1 – 0.3 | Highly anisotropic; flow-direction shrinkage differs |
Tip: When a design demands walls thinner than 0.8 mm, amorphous resins like PC or ABS are often safer starting points because their lower and more isotropic shrinkage reduces the driving force for warp. If you must use a semi-crystalline material, plan on generous packing and possibly conformal cooling.
Process levers can help manage shrinkage-induced stress. RJG points to packing pressure and time as primary knobs for reducing sink depth—by forcing more material into the cavity during the early cooling phase. Conformal cooling channels, which follow the part contour, can dramatically reduce hot spots that cause differential shrinkage. But these process fixes are band-aids if the underlying wall thickness balance is poor.
Ramps, Ribs, and Material Choices: A Side-by-Side Look at Design Countermeasures
When you’re staring at a sink-prone CAD model, you have several design and material levers to pull. Each has its sweet spot and its limitations. The matrix below compares the most effective countermeasures, with references to the research that supports them.
| Technique | Best Application | Limitations | Reference |
|---|---|---|---|
| Gradual ramps instead of step changes | Transitions between thick and thin sections; bosses and ribs | Requires additional space; may not fully eliminate sink if ratio is too high | Rex Plastics |
| Rib thickness ≤ 60% of adjacent wall | Stiffening thin-wall housings without sink | Limits rib height for very thin walls; may need multiple ribs | Rex Plastics, DuPont |
| Uniform nominal wall throughout part | All precision parts; especially those with long flow paths | May conflict with functional requirements; often requires creative coring | General best practice |
| Low-shrinkage material selection | Micro-features, tight-tolerance optics, connectors | Higher material cost; may sacrifice toughness or chemical resistance | Thogus |
| Process-first optimization (packing, cooling) | Legacy tools where design changes are impossible | Narrow process window; higher scrap risk; does not fix root cause | Molding Dynamics, RJG |
The clear message from Molding Dynamics is that part design is the first line of defense. Minor geometry adjustments made during the design phase prevent major process headaches later. Thogus reinforces that choosing a material matched to the part geometry and mold design helps control shrinkage and warpage from the start. While process engineers can compensate to a degree, the most robust and cost-effective strategy is to design out the sink and warp risk before cutting steel.
6 Design Rules That Keep Thin-Wall and Micro-Feature Parts Dimensionally Stable
The following six rules distill decades of molding experience and the referenced research into an actionable checklist. Use them at the design review stage, and you’ll avoid the most common traps that lead to sink marks and warpage in precision polymer parts.
| Rule | Key Action | Why It Matters | Reference |
|---|---|---|---|
| 1. Maintain nominal wall consistency | Keep wall thickness within ±10% of the nominal value across the part | Eliminates differential cooling and shrinkage gradients | General best practice; DuPont |
| 2. Apply the 60% rib rule | Design ribs, bosses, and gussets at 50–60% of the adjacent wall thickness | Prevents sink marks on the opposite surface while retaining stiffness | Rex Plastics, DuPont |
| 3. Ramp, don’t step | Use a gradual slope (3:1 or gentler) when transitioning between thicknesses | Reduces stress concentration and promotes even cooling | Rex Plastics |
| 4. Select low-shrinkage, isotropic materials | For critical features, choose amorphous or well-filled grades with shrinkage below 0.5% | Minimizes the driving force for sink and warp | Thogus, DuPont |
| 5. Optimize packing pressure and time | Set packing pressure to 50–70% of injection pressure and hold until gate freeze | Compensates for volumetric shrinkage in thick sections | RJG |
| 6. Leverage conformal cooling for complex geometries | Specify conformal cooling channels in molds with deep cores or micro-features | Eliminates hot spots that drive differential shrinkage and warp | RJG |
Rule 1: Maintain Nominal Wall Consistency
Every departure from a uniform wall creates a cooling-rate mismatch. For thin-wall parts (0.5–1.5 mm), even a 0.2 mm increase in a local boss can double the cooling time and produce a visible sink. Use core-out techniques to hollow thick sections and maintain a constant wall. If a thicker area is unavoidable, treat it with Rules 2 and 3.
Rule 2: Apply the 60% Rib Rule
Ribs are the preferred way to add stiffness without increasing wall thickness. But a rib that’s too thick becomes a sink magnet. Rex Plastics and the DuPont design guide both recommend a rib thickness of 50–60% of the nominal wall. At this ratio, the rib root cools fast enough to avoid pulling the opposite surface inward. For micro-features, this rule extends to tiny standoffs and alignment pins—keep their base diameter below 60% of the floor thickness.
Rule 3: Ramp, Don’t Step
A sharp step change in thickness is a stress riser and a cooling-rate discontinuity. Replacing that step with a ramp of at least 3:1 length-to-height ratio spreads the transition zone, allowing the material to cool more uniformly. This simple change often eliminates sink marks at the base of bosses and side walls, as Rex Plastics demonstrates.
Rule 4: Select Low-Shrinkage, Isotropic Materials
When part function allows, choose an amorphous resin like PC or a highly filled grade with shrinkage below 0.5%. For micro-features under 0.5 mm, materials such as LCP or glass-filled PEEK offer the lowest and most predictable shrinkage. Thogus advises that material selection should align with both geometry and mold design to minimize flow-related defects and control warpage.
Rule 5: Optimize Packing Pressure and Time
Even with a perfect design, inadequate packing leaves voids and sinks. RJG recommends setting packing pressure high enough to continue filling the cavity as the material shrinks—typically 50–70% of the injection pressure—and holding it until the gate freezes. For thin-wall parts, a short but intense packing phase can make the difference between a Class A surface and a reject.
Rule 6: Leverage Conformal Cooling for Complex Geometries
Traditional straight drilled cooling lines often leave hot spots around deep cores or micro-feature arrays. Conformal cooling channels, manufactured via additive methods, follow the part contour and extract heat evenly. RJG highlights that conformal cooling improves cooling uniformity and can reduce cycle time while slashing warp. The investment is justified when part geometry creates unavoidable thermal imbalances and production volumes are high.
Sink and Warp FAQ: Answers Engineers Need Before Cutting Steel
Q: How thin can I go on wall thickness before sink marks become inevitable?
There is no universal minimum; it depends on material, flow length, and feature geometry. With high-flow, low-shrinkage resins and proper packing, walls as thin as 0.3 mm can be molded sink-free. However, any local thickening—such as a rib or boss—must follow the 60% rule to avoid localized sinks. For example, a 0.5 mm wall with a 0.4 mm rib root is likely to sink; reducing the rib to 0.3 mm eliminates the problem. Always verify with mold flow simulation when pushing below 0.5 mm.
Q: Can optimized process parameters really compensate for a poorly designed part?
Process tweaks like extended packing or lower melt temperature can reduce sink depth, but they rarely eliminate the root cause. Molding Dynamics stresses that part design is the first line of defense, and Thogus notes that material and geometry choices are more reliable long-term. A process band-aid may work for a low-volume run, but at high volumes the narrow process window will lead to intermittent scrap and constant adjustment. Fix the design first.
Q: When should I invest in conformal cooling instead of traditional straight-line channels?
Conformal cooling becomes cost-justified when part geometry creates hot spots that drive differential shrinkage and warp, especially in high-volume production of micro-featured parts. RJG highlights its ability to improve cooling uniformity and reduce cycle time. If your part has deep cores, arrays of pins, or complex contours that cannot be reached by straight drilled channels, the added tooling cost is often recovered quickly through lower scrap rates and faster cycles.
Q: Do micro-features (under 0.5 mm) change the sink/warp risk profile?
Yes, micro-features cool faster and can act as stress concentrators. A 0.3 mm tall micro-rib with a sharp corner at its base can initiate a sink mark or a crack. Designers must avoid abrupt transitions at the base of micro-pillars or thin ribs; a small fillet or gradual blend reduces stress and sink. Material selection with low and isotropic shrinkage becomes even more critical—LCP or highly filled amorphous grades are often the best choice for micro-featured parts.
Q: Is it better to add ribs for stiffness or increase overall wall thickness?
Ribs are generally preferred because they add stiffness without the mass that causes sinks and long cooling times. However, ribs must be designed at 50–60% of the adjacent wall thickness to prevent sink marks on the opposite surface, as emphasized in the DuPont design guide. If a single rib isn’t stiff enough, use multiple thinner ribs rather than one thick one. This approach preserves dimensional stability while meeting mechanical requirements.
References & Further Reading
- Aprios – Sink Marks in Injection Molding: Causes and Fixes
- Rex Plastics – Fundamentals of Plastic Part Design Part 3: Sink and Warp
- DuPont – General Design Principles for Engineering Polymers (PDF)
- RJG – Techniques for Reducing Warp and Sink in Injection Molded Parts
- Molding Dynamics – Sink Marks in Injection Molding: Causes & Solutions
- Thogus – Avoiding Sink Marks in Injection Molding (And Other Defects)
- Plastics Technology – How to Stop Sink Marks
- ASTM D955 – Standard Test Method for Measuring Shrinkage from Mold Dimensions of Thermoplastics
Need help applying these rules to your next precision molding project? Our team at PandaMolding specializes in thin-wall and micro-feature injection molding, from design for manufacturability reviews to full production. Get a quote or explore our injection molding services to see how we can help you avoid sink marks and warpage before they become yield killers.