Step-by-Step Guide to Injection Molding for Electronics: From Concept to Production
In the competitive electronics industry, transforming innovative concepts into tangible products requires precision and expertise. Injection molding stands out as a pivotal manufacturing process, particularly for electronic components, where precision and repeatability are non-negotiable. This guide
Step-by-Step Guide to Injection Molding for Electronics: From Concept to Production
In the competitive electronics industry, transforming innovative concepts into tangible products requires precision and expertise. Injection molding stands out as a pivotal manufacturing process, particularly for electronic components, where precision and repeatability are non-negotiable. This guide will walk you through the crucial stages of injection molding, ensuring your designs are not only feasible but optimized for production.
Understanding the Basics of Injection Molding
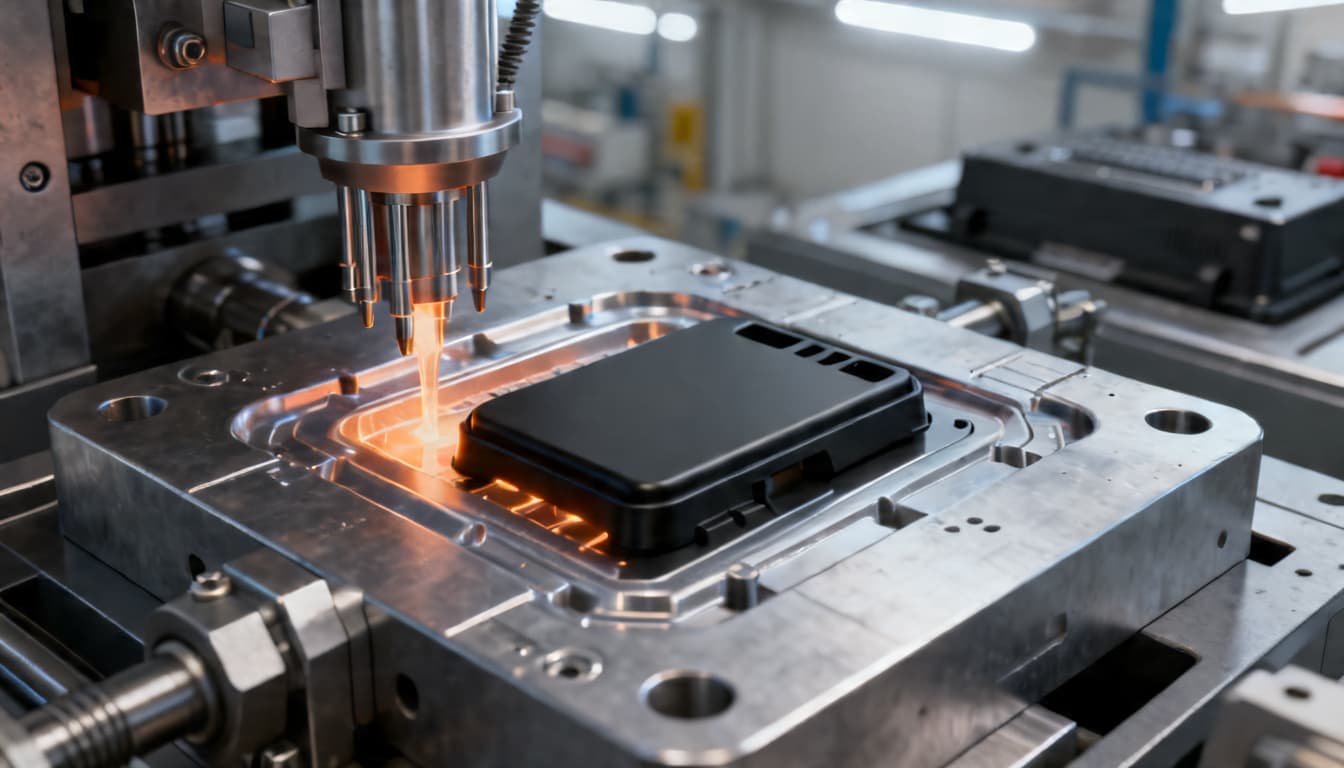
Before diving into design specifics, it's essential to grasp the basic principles of injection molding. This process involves injecting molten material into a mold cavity, where it cools and solidifies into the desired shape. Key parameters such as melt temperature, mold temperature, and injection pressure play a crucial role in the quality of the final product.
Melt and Mold Temperatures
The melt temperature varies depending on the material used. For instance, ABS typically requires a melt temperature of 220-260°C, while polycarbonate (PC) might need 270-310°C. Mold temperatures are equally critical, often ranging from 50-80°C for ABS and 80-120°C for PC. Maintaining these parameters ensures optimal flow and reduces defects.
Designing for Manufacturability
Designing a mold for electronic components requires attention to specific details to avoid common pitfalls. Adhering to industry standards such as ISO 20457 can significantly enhance manufacturability.
Wall Thickness and Draft Angles
Uniform wall thickness between 1-3mm is recommended to prevent warping and ensure even cooling. Draft angles of 0.5-2° facilitate easier part ejection, minimizing the risk of surface defects.
Material Selection
Choosing the right material is critical for electronic applications. Here's a comparison of common materials:
| Material | Properties | Applications |
|---|---|---|
| ABS | Good impact resistance, easy to process | Casings, housings |
| PC | High strength, thermal stability | Optical disks, electronic enclosures |
| PA66 | High mechanical strength, heat resistance | Connectors, insulators |
Prototype and Tooling Considerations
Prototyping is a crucial step in validating design choices before full-scale production. Rapid tooling options can expedite this process, allowing for quick iterations.
Tooling Material Choices
Aluminum molds are ideal for prototyping due to their lower cost and faster machining times, while steel molds are preferred for high-volume production due to their durability.
Cycle Time Optimization
Cycle time, typically ranging from 30 to 90 seconds, directly impacts production efficiency. Factors such as cooling time and ejection speed should be optimized based on the material and part design.
Production and Quality Control
Once the design and tooling are finalized, attention shifts to production and ensuring quality. Consistent monitoring and adherence to standards like ASTM D638 for tensile properties can prevent defects.
Common Defects and Solutions
Defects such as sink marks and voids are common in injection molding. Maintaining a consistent wall thickness and using adequate injection pressure (typically 500-2000 psi) can mitigate these issues.
Quality Assurance
Implementing a robust quality control process is essential. Techniques such as statistical process control (SPC) can help maintain consistent quality in high-volume production.
Cost Considerations
Understanding the cost dynamics of injection molding is vital for budgeting and pricing strategies. Here's a breakdown of typical cost components:
| Cost Component | Percentage of Total Cost | Notes |
|---|---|---|
| Material | 30-50% | Varies with material choice |
| Tooling | 20-30% | Initial investment, amortized over production volume |
| Labor | 10-20% | Depends on automation level |
| Overheads | 10-20% | Includes maintenance and utilities |
Step-by-Step Process Checklist
- Define product requirements and specifications.
- Select appropriate materials based on application needs.
- Design the part with manufacturability in mind (wall thickness, draft angles).
- Create a prototype using rapid tooling and test for functionality.
- Develop production tooling, considering volume and cost.
- Optimize process parameters (temperatures, pressures, cycle time).
- Implement quality control measures to ensure consistency.
- Evaluate costs and adjust pricing strategies accordingly.
Practical Tip: Always conduct a design review with a cross-functional team to identify potential issues early in the process. This can save significant time and cost in later stages.
Conclusion
Injection molding for electronics requires meticulous planning and execution. By understanding the nuances of design, material selection, and process optimization, you can ensure your products meet the highest standards of quality and performance. Whether you're prototyping a new design or scaling up for mass production, leveraging expert services like those offered by Panda Molding can streamline your journey from concept to production.